The H2O Python Module provides access to the H2O JVM, as well as its extensions, objects, machine-learning algorithms, and modeling support capabilities, such as basic munging and feature generation. – The H2O Python Module
In the previous blog post I gave an overview of H2O AutoML and showed how to use H2O AutoML with H2O Flow. In this blog post I will use H2O AutoML with Python within a Jupyter Notebook.
The source code for this example is on Github: choas/h2o-titanic/python
Getting started
The example runs under Python. Install H2O and Jupyter.
The H2O library needs a H2O server to connect. You can use the H2O Flow Server from the previous blog post by starting the jar file. Now the H2O server is running.
The Jupyter notebook is structured like the H2O Flow example from the previous blog post:
- read data
- customize data
- split data into training data and validation data
- run AutoML
- leaderboard
Contrary to H2O Flow, the best model can be selected within Python. This can also be saved 💾 so that the process can be automated.
Python example
The source code of the Jupyter notebook can be found at Github choas/h2o-titanic/python/H2O-AutoML-Titanic.ipynb.
Unlike H2O Flow, Github shows the Jupyter notebook, so you don’t have to run it yourself. The example is based on the H2O AutoML example Code Examples.
First I read in the same Titanic data that I already used with H2O Flow. Afterwards I adjust the data. For keeping things simple, I take out the lines that contain empty values for Age or Embarked. But this is not an ideal solution, because 179 lines are removed.
On the Kaggle Titanic discussion page you can find examples of how to correctly adjust the missing data, such as Titanic: on the top with a simple model. Since we are in Python we can use the usual libraries like pandas, scikit-learn and numpy.
We dropped a few rows, therefore I split the remaining data into 70% training data and 30% validation data. In the H2O Flow example I had a ratio of 75:25. I also take out the columns PassengerId, Name, Ticket and Cabin. A summary shows the structure of the training data.
For the AutoML execution I only specified the necessary parameters and limited the maximum runtime to 60 seconds. You can find more information about each parameter here:
After the training the leaderboard is displayed and a prediction is shown. The model can be downloaded as MOJO. In the previous blog post I show how the MOJO can be used in Java. Finally I print the parameters, with which the model was trained.
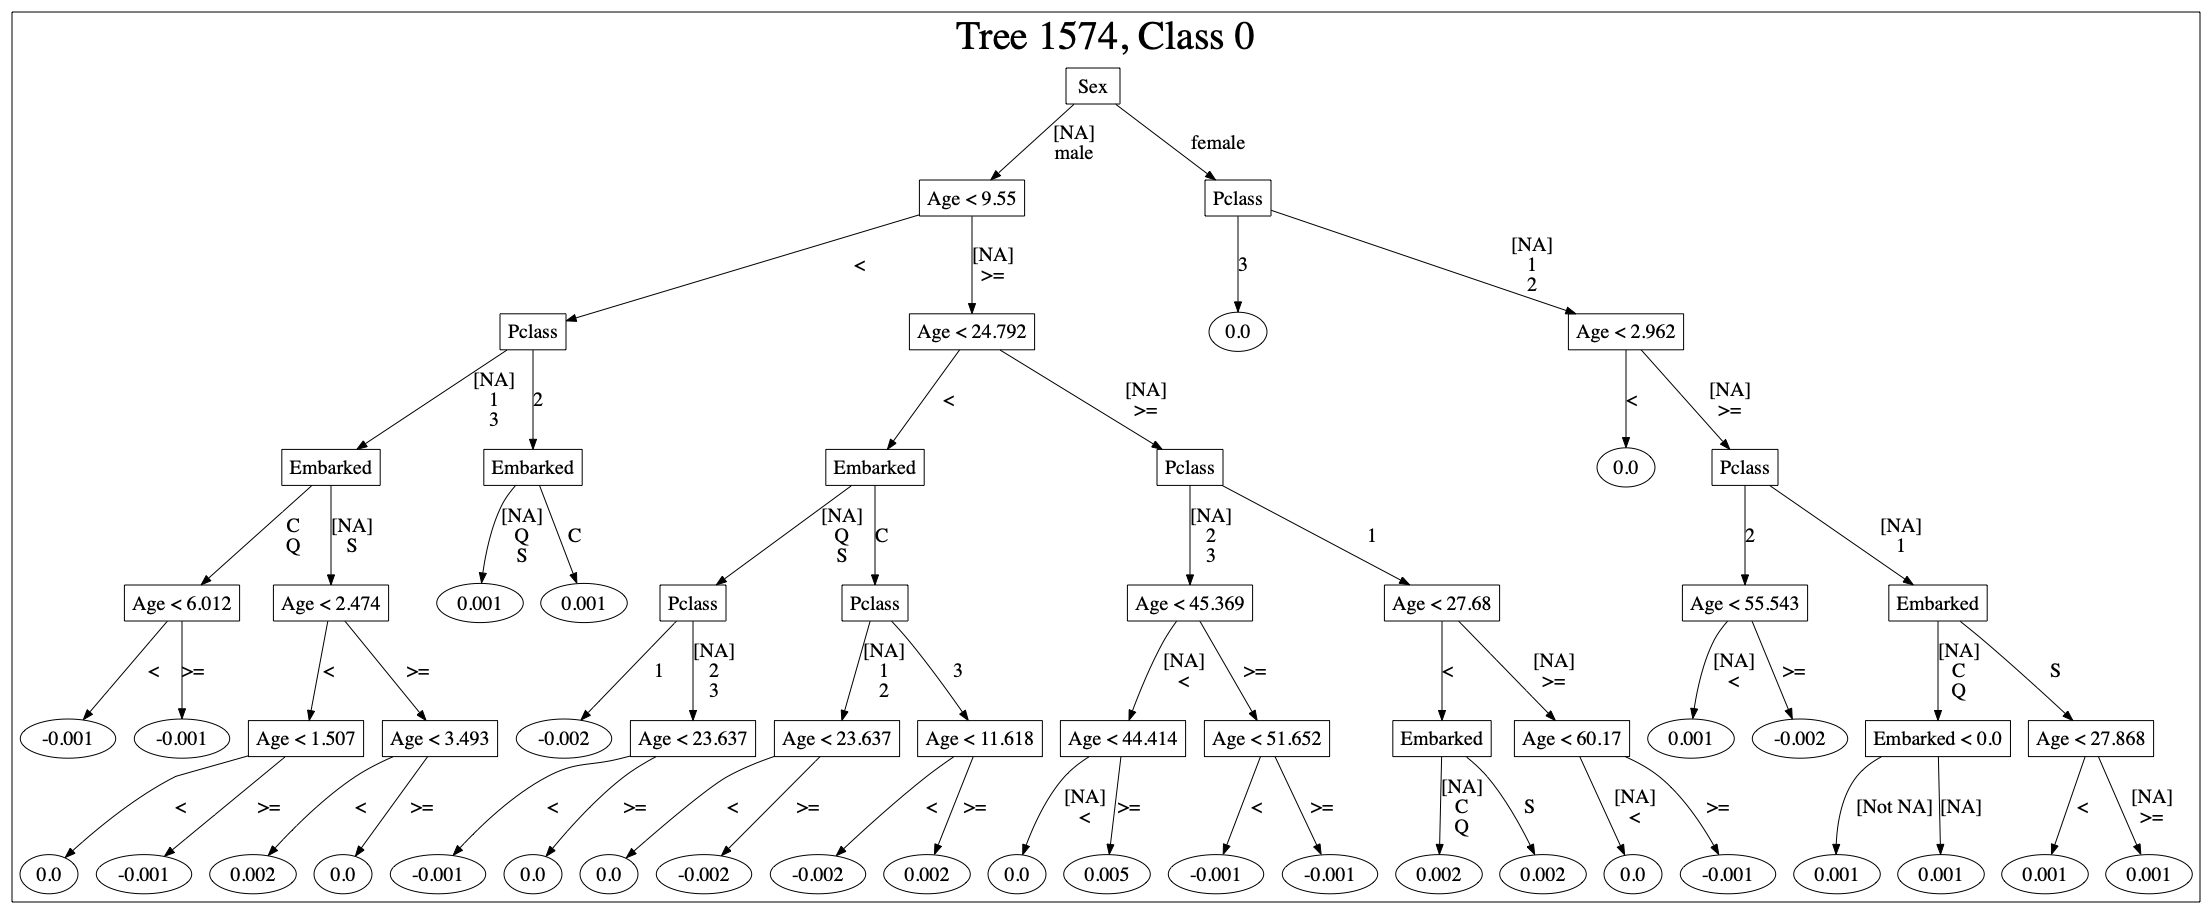
Trees
H2O allows you to plot the trees of DRF and GBM models. Here is an example of a GDM model and the Titanic data:
Automation
The Jupyter notebook serves only as a test basis and certain steps can also be documented. You can export the notebook as Python code and run it without Jupyter.
On the basis of new data the process can be started. The data are imported, adjusted and split. Afterwards the AutoML process creates a new model based on this data. This model is saved as MOJO and provided to the application.
Depending on the infrastructure, a new Kubernet cluster could be started with the new model and the results of the new model could be compared with the results of the old one. If the result of the new model is better, the system switches to the new one. However, as the new model is based on new data, the comparison should also use new data.
Explainable AI
By automating the process, you can also log the individual steps. You can also trace which model was active at which time. You also have the training data, the parameters with which the model was trained and also the seed value. Even the structure of the individual trees can be shown.
Summary
AutoML is a simple way to find a model that fits the provided data. However, AutoML does not solve the problem of data quality and data enrichment. As I mentioned earlier with the Titanic data, this is the real work. You need to know the relationships of your data.
However, if the model is applied incorrectly, then the result may over-fit or under-fit. This is where AutoML can help.